
Ube & White Chocolate Sourdough Bread
So, I made this Ube & White Chocolate Sourdough Bread back in February, and it’s March. Let me just say this before I go ahead with the recipe. Making sourdough bread is really not that complicated. It starts with flour & water, as simple as that. It takes a little time, patience, and a warm house(right??) to get that strong starter. Not all breads especially in the beginning of your sourdough bread journey will come out great. It is with this bread that I’ve finally kinda found my process. This all starts with the sourdough starter. You have to be patient with that part. Just because your starter finally peaked one day doesn’t mean it will result to a good bread. Give it a month of feeding, peaking/bubbling up, discarding, feeding again…. that process. If you are in your sourdough starter journey I’m sure you’ve already read/googled all about it ad nauseam and have also watched coountless TikTok videos too. Trust me, I’ve been there as well and still am. My advice, be patient. You know the basics, build on your starter to be strong then go from there.
One more thing, even when you thought you finally got it down because 2 or 3 loaves have been amazing, there will still be a day when your bread would be a disappointment. It’s OK. Just slice that sucker up, toast it then spread some butter in it. It will still be good. 👍 On to the next sourdough bread we go.
Ingredients
Equipment
Method
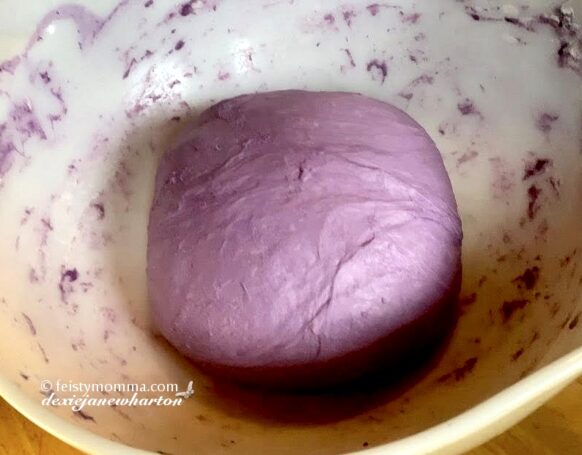
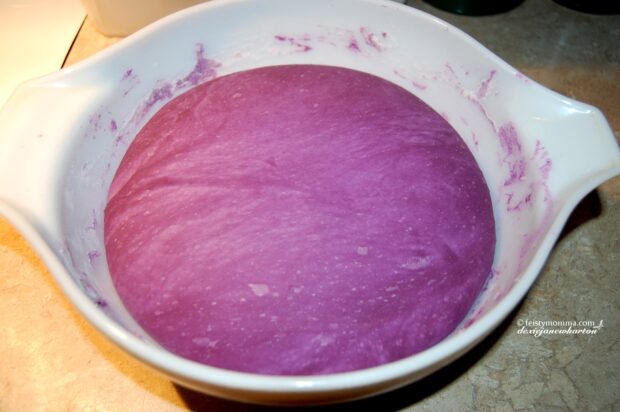
- Whisk together water and sourdough starter. Then whisk in the Ube extract.
- Add the bread flour and salt. Stir everything together until shaggy(like a sticky pancake batter).
- Knead in the bowl for 5 minutes or so.
- Cover lightly, leave in the counter for 1 hour.
- After 1 hour, do the stretch and fold method(refer to the video on this post), 4-6 times. Cover and leave for 30 minutes. Repeat this process 3 more times.
- On the last stretch and fold, cover tightly and bulk ferment for 6-8 hours. The dough should double its size.
- After the bulk fermentation, start the lamination and shaping process.
- Dump the bulk fermented dough into the counter or flat surface, lightly floured.
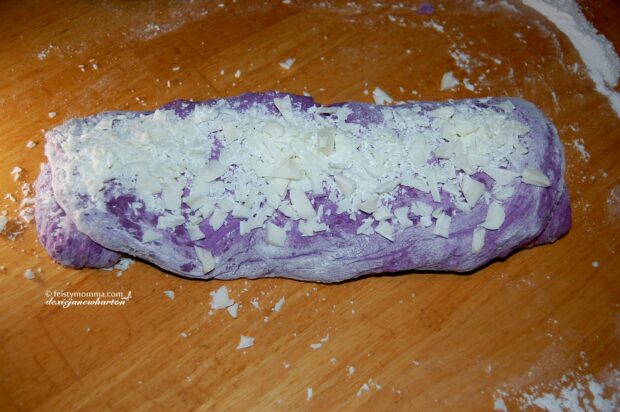
- Knead a couple of times then stretch into a flat rectangle. Add some of the white chocolate in the middle. Fold one end, sprinkle white chocolate on top, fold the other end then top with the remaining white chocolate. Gently tuck the ends on top then roll gently but firmly.
- Do the tension kneading. Watch the video for this.
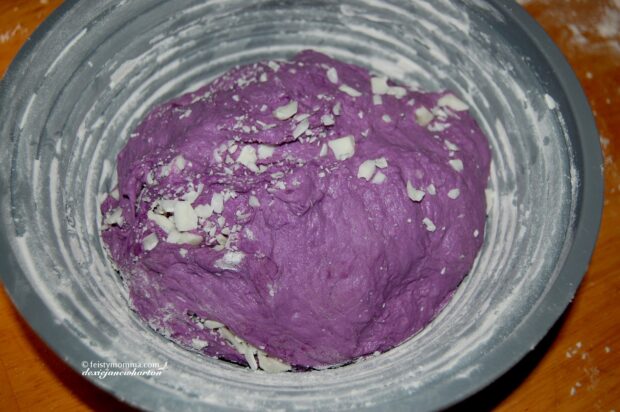
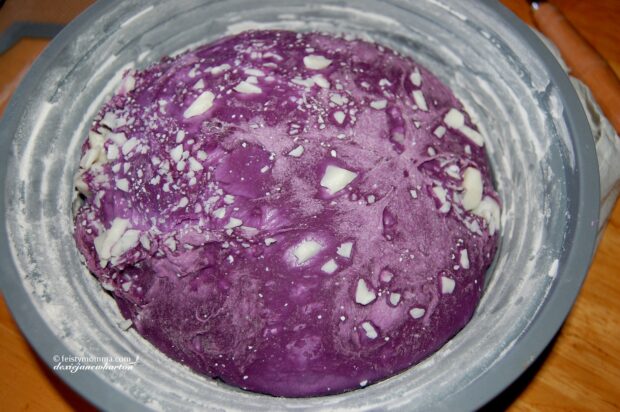
- Flour a Benetton. Transfer the bread in the benetton. Pinch the ends and top to seal. Sprinkle flour on top. Cover with bread cloth tightly then stick it in the fridge to go through the cold proofing. You can do this for 12 hours or longer. I try to cold ferment for 24hours and even 36hours.
- After the cold proofing, start the baking process.
- Preheat the oven and Dutch Oven(with cover) to 450°.
- Slightly flour a parchment paper or a silicone mat. Dump the cold proofed dough into the floured surface. Sprinkle flour on top and around the dough. Score the dough however you like.
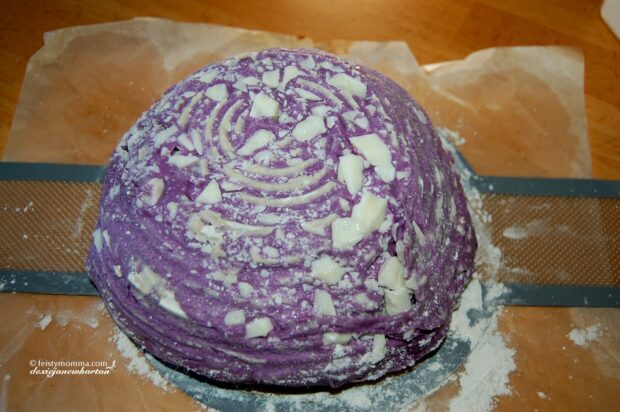
- I usually do a 1 big straight cut to get the "ear" then little cuts on the side for a wheat/leaf design.

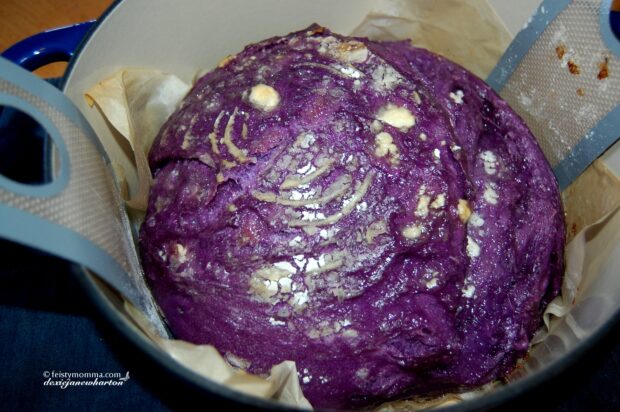
- Make sure you're using oven mittens. Once the oven and Dutch Oven has preheated, take out the DO from the oven. Put 3 ice cubes in the bottom of the DO. Lay the parchment paper/silicone mat with dough into to Dutch Oven. Cover then bake for 30minutes.
- After 30minutes, take the lid off. Lower the temperature to 420°. Bake for another 20minutes.
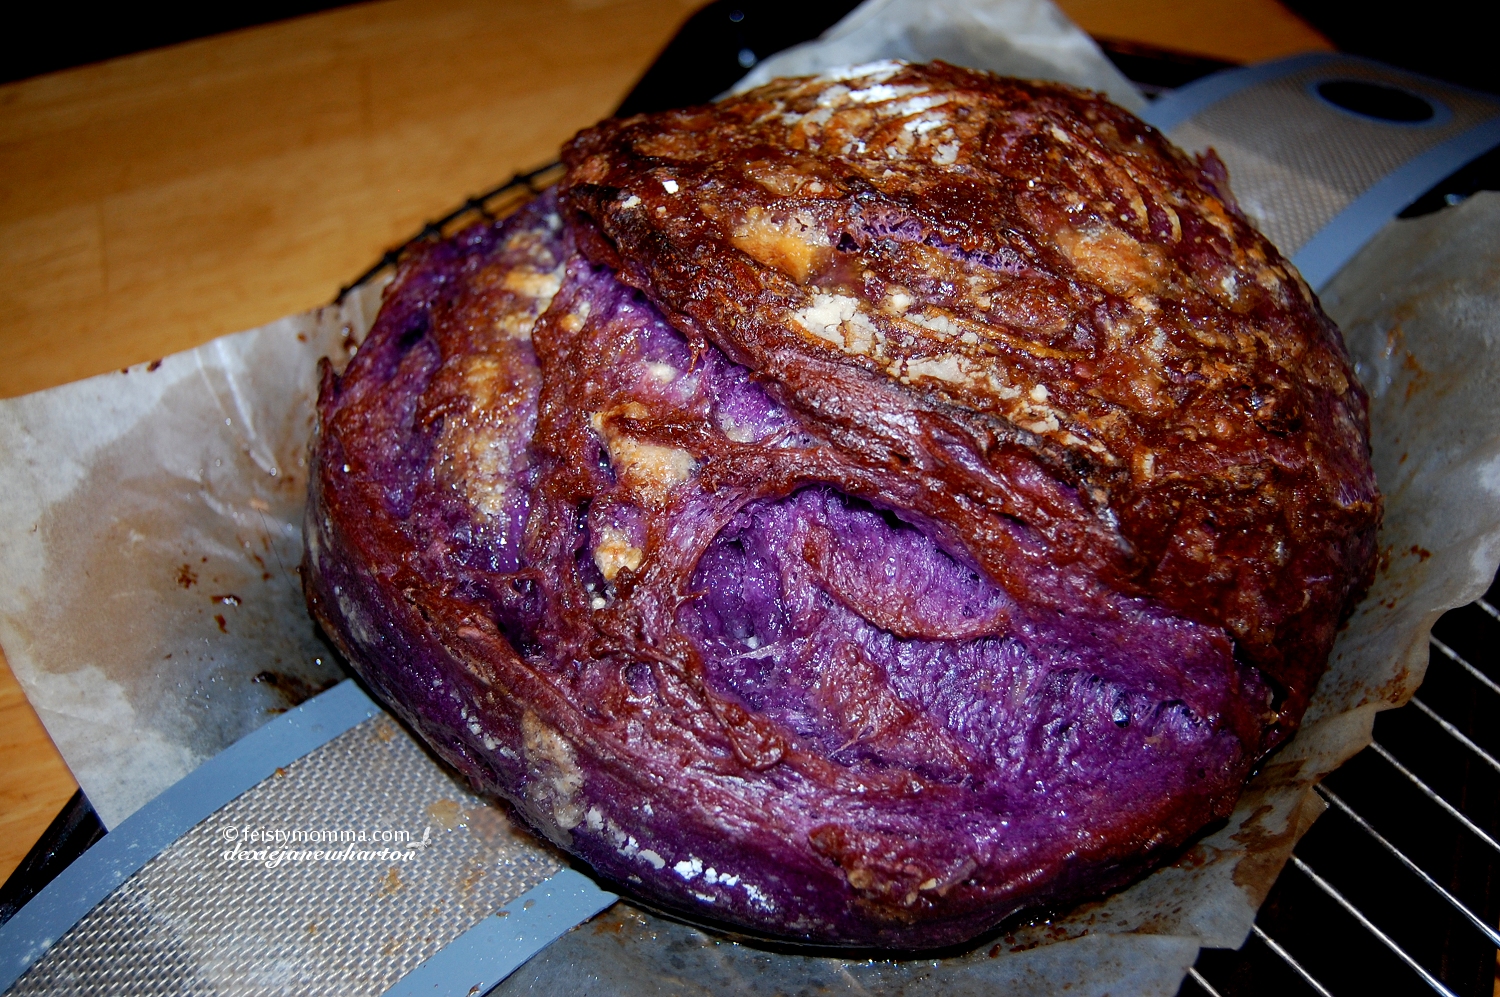
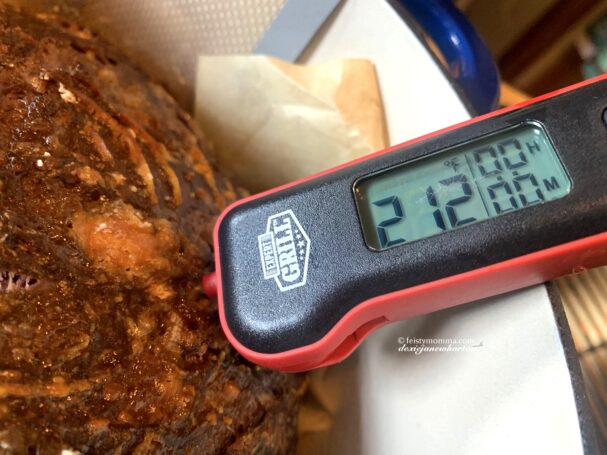
- Once done, check the temperature. The Bread needs to be 210-212°.
- Carefully take the DO out of the oven, place the sourdough bread into a cooling rack. Let that cool down for 2-3hours before slicing into it.

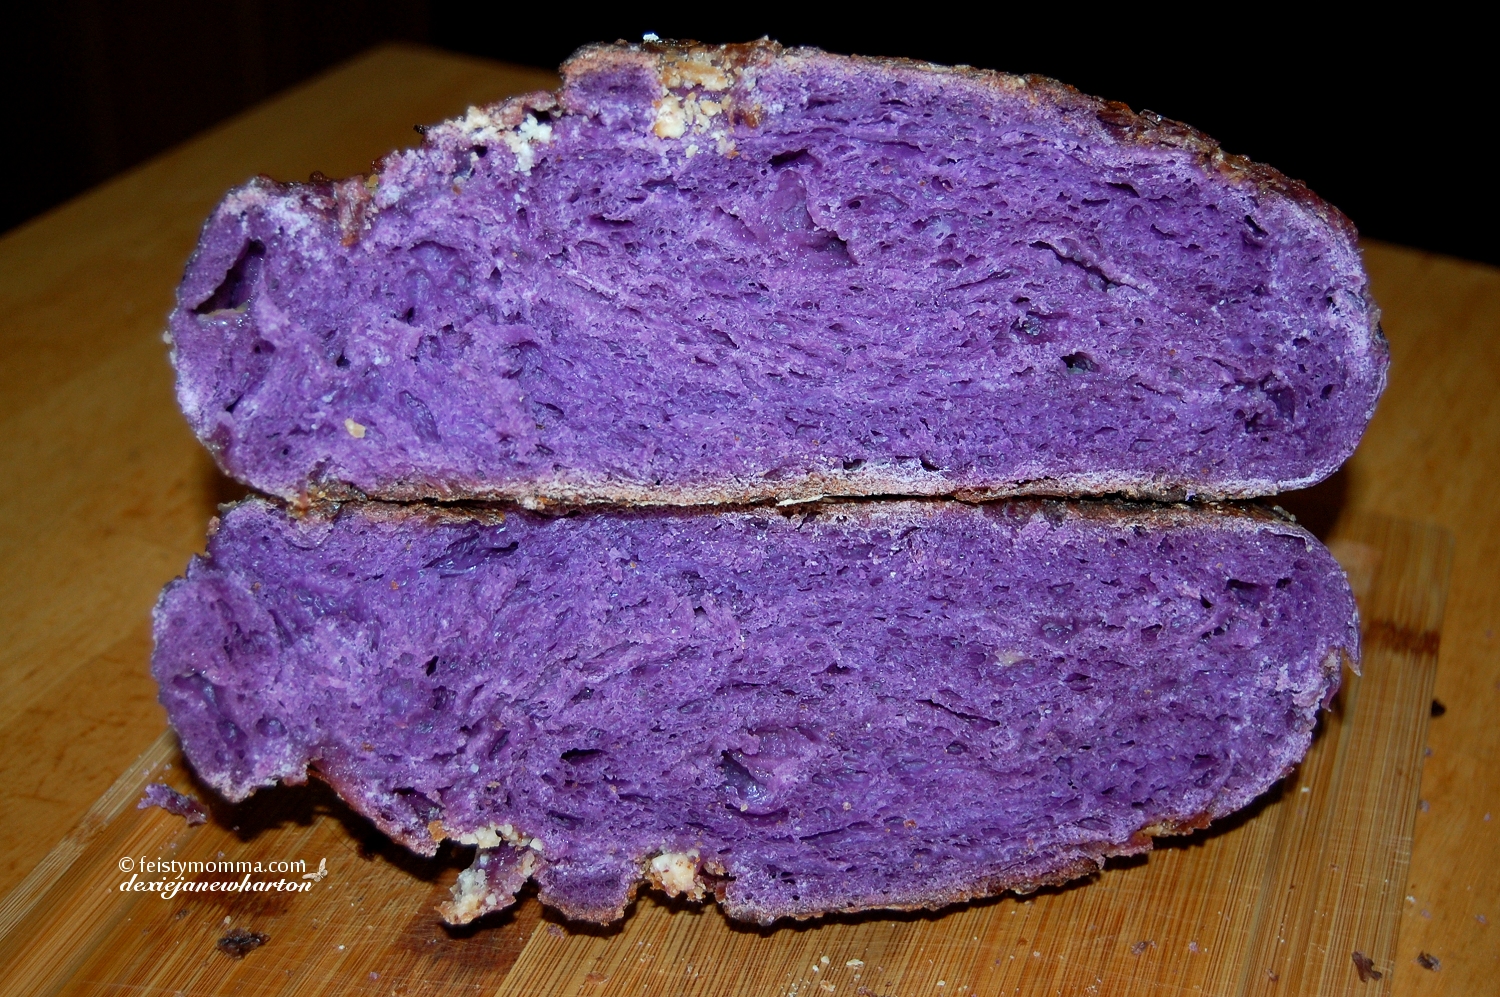
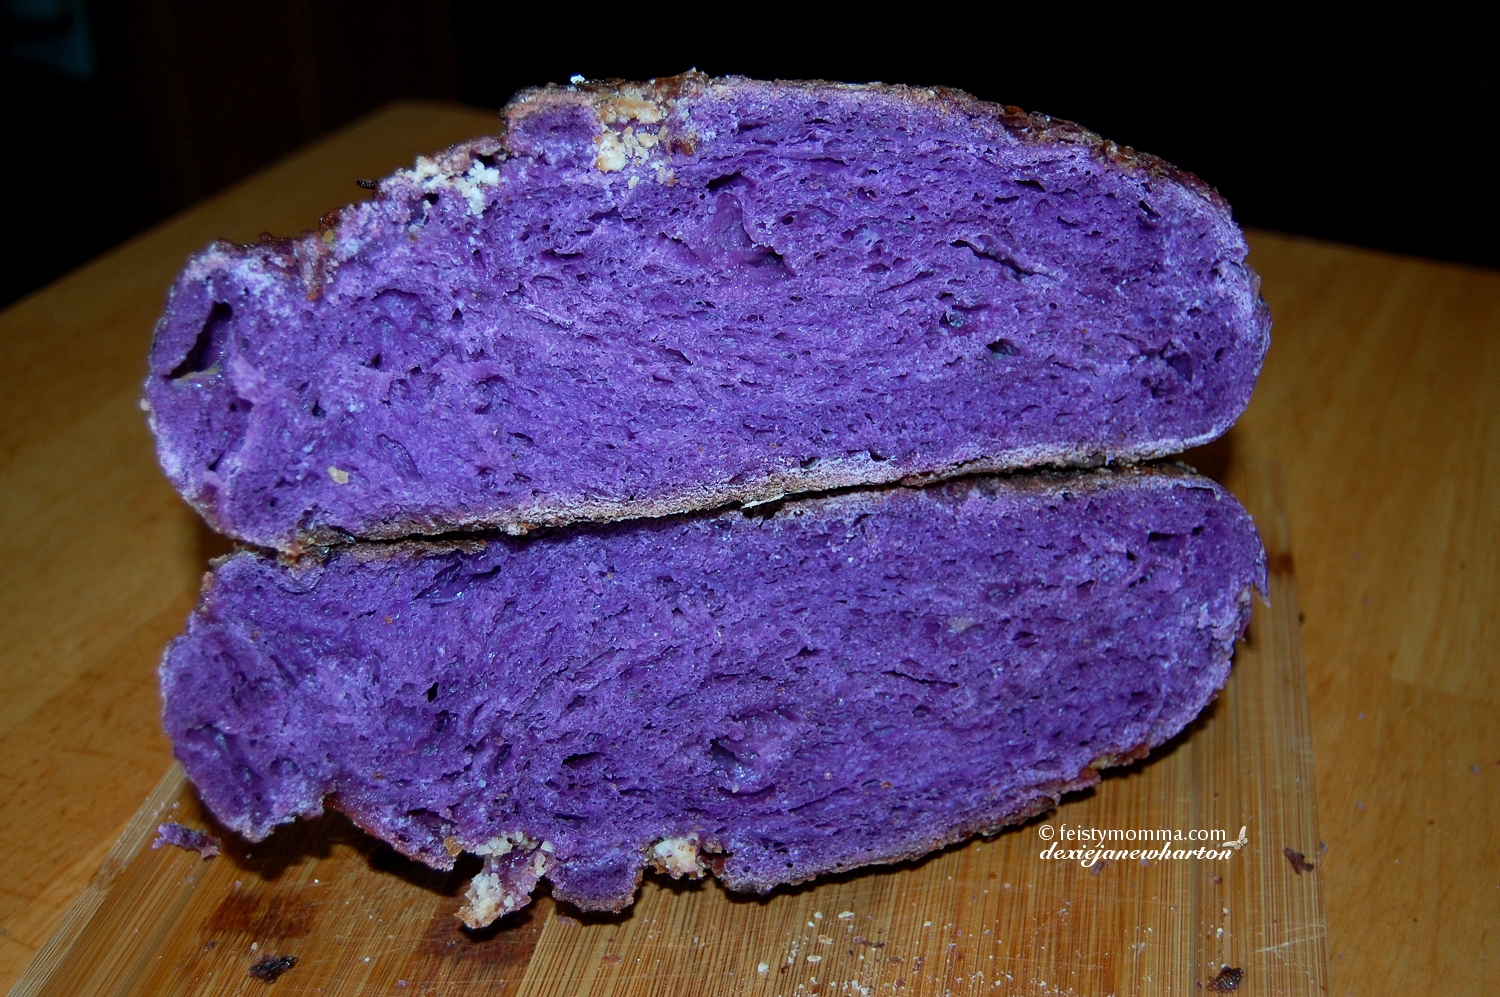
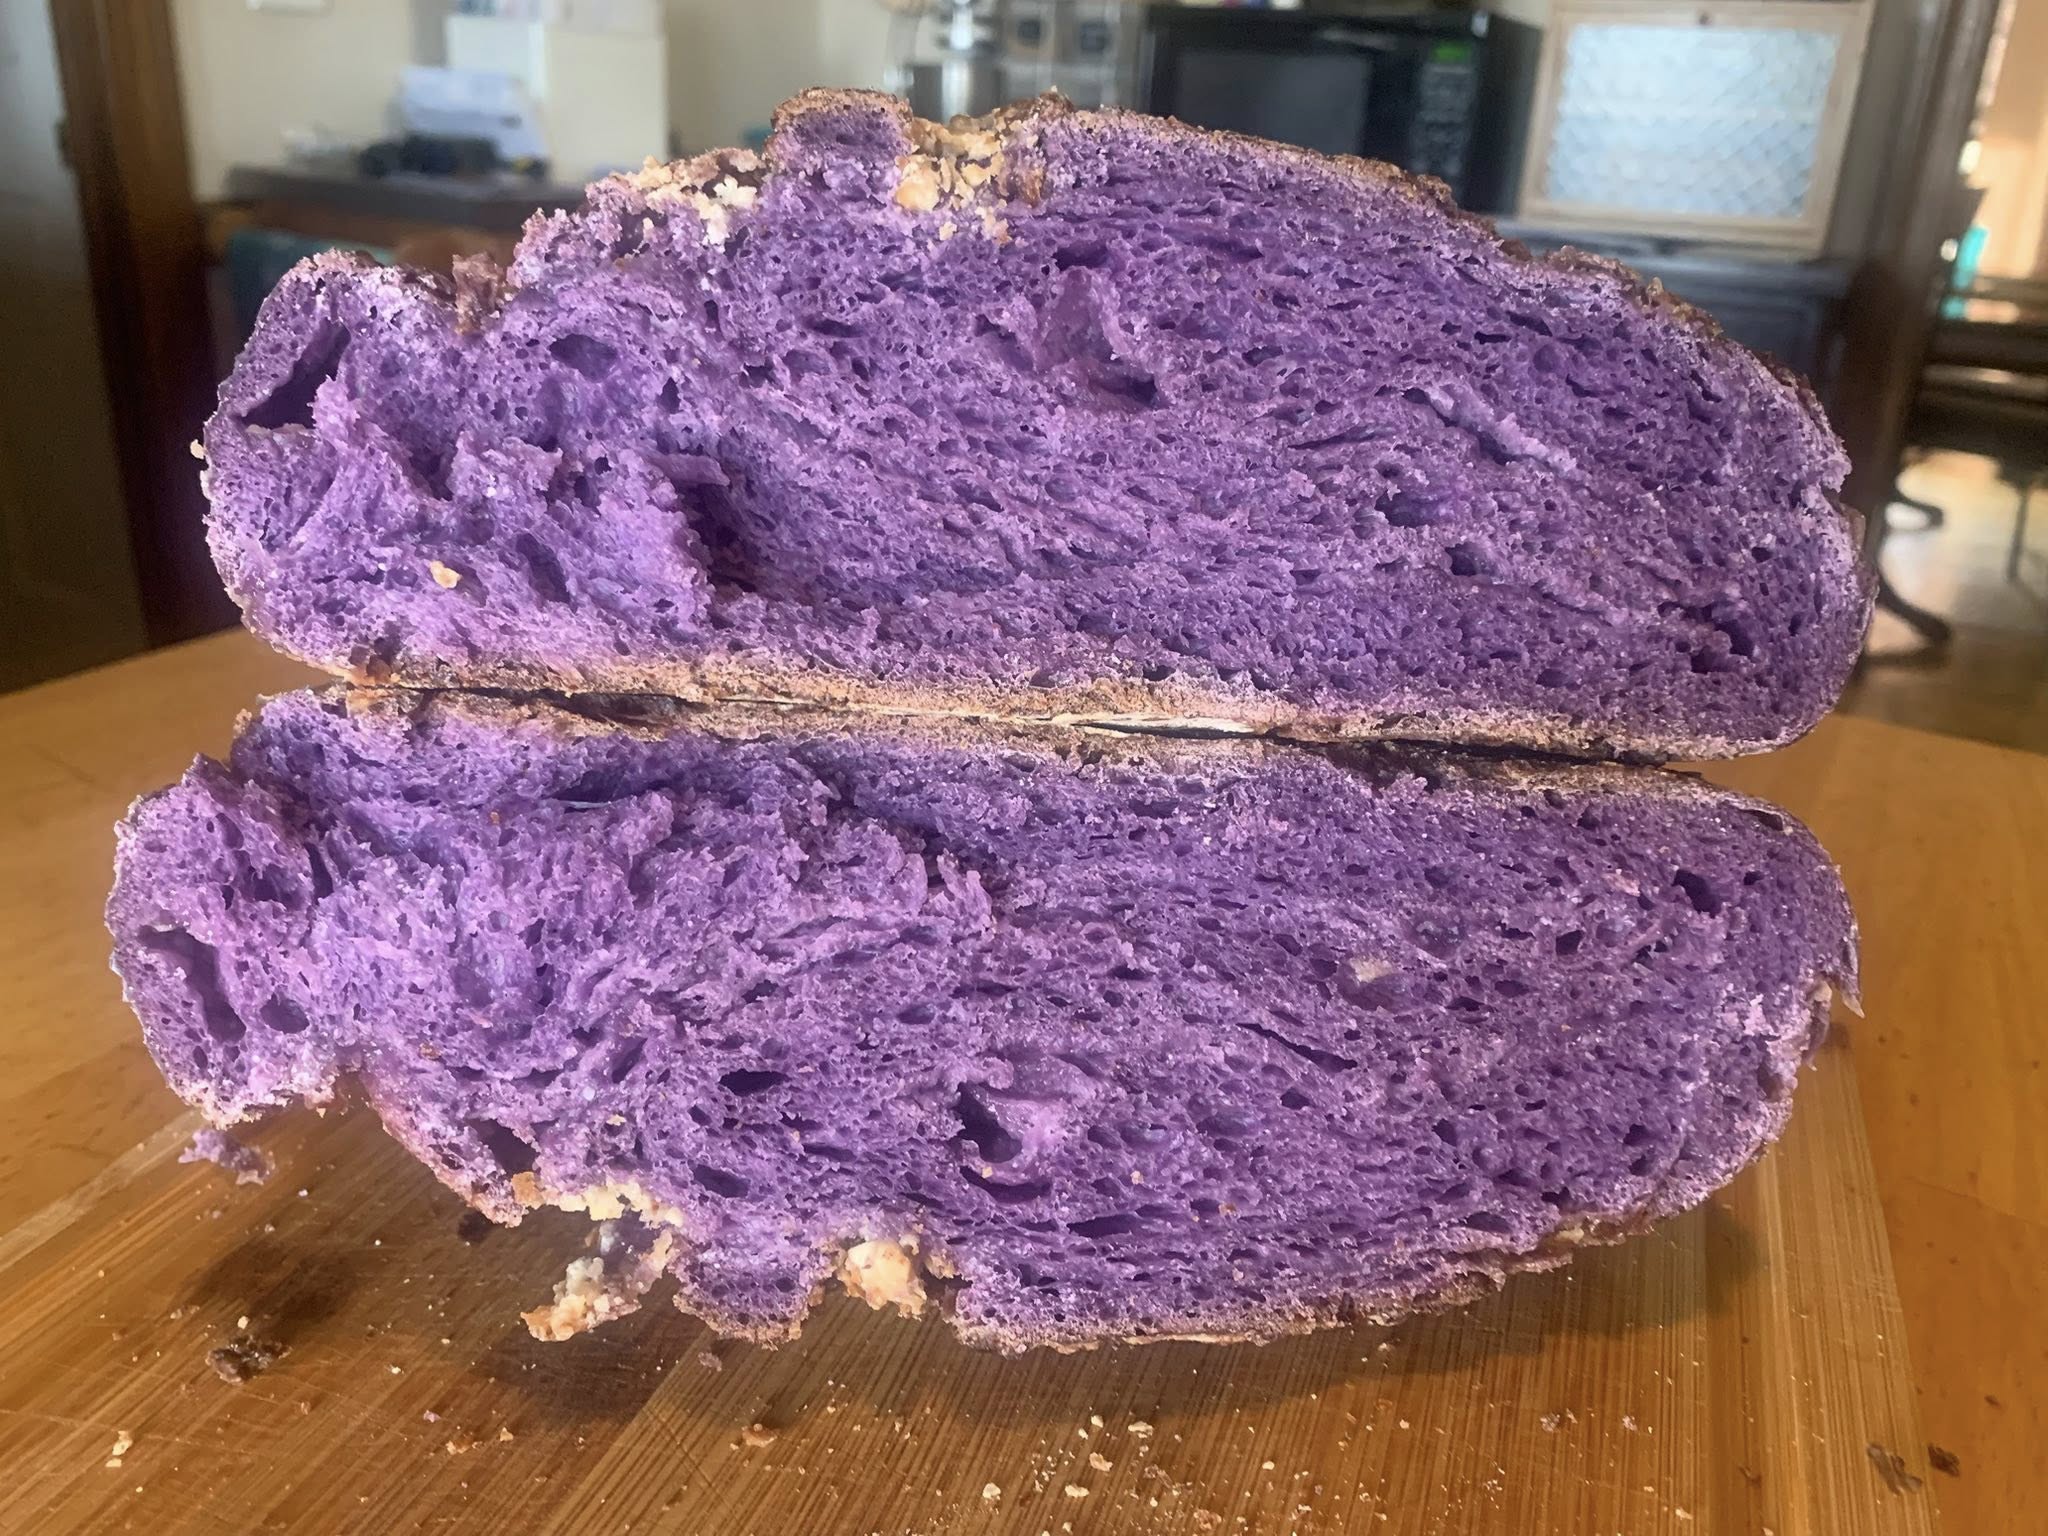
You have to let it cool completely before slicing.
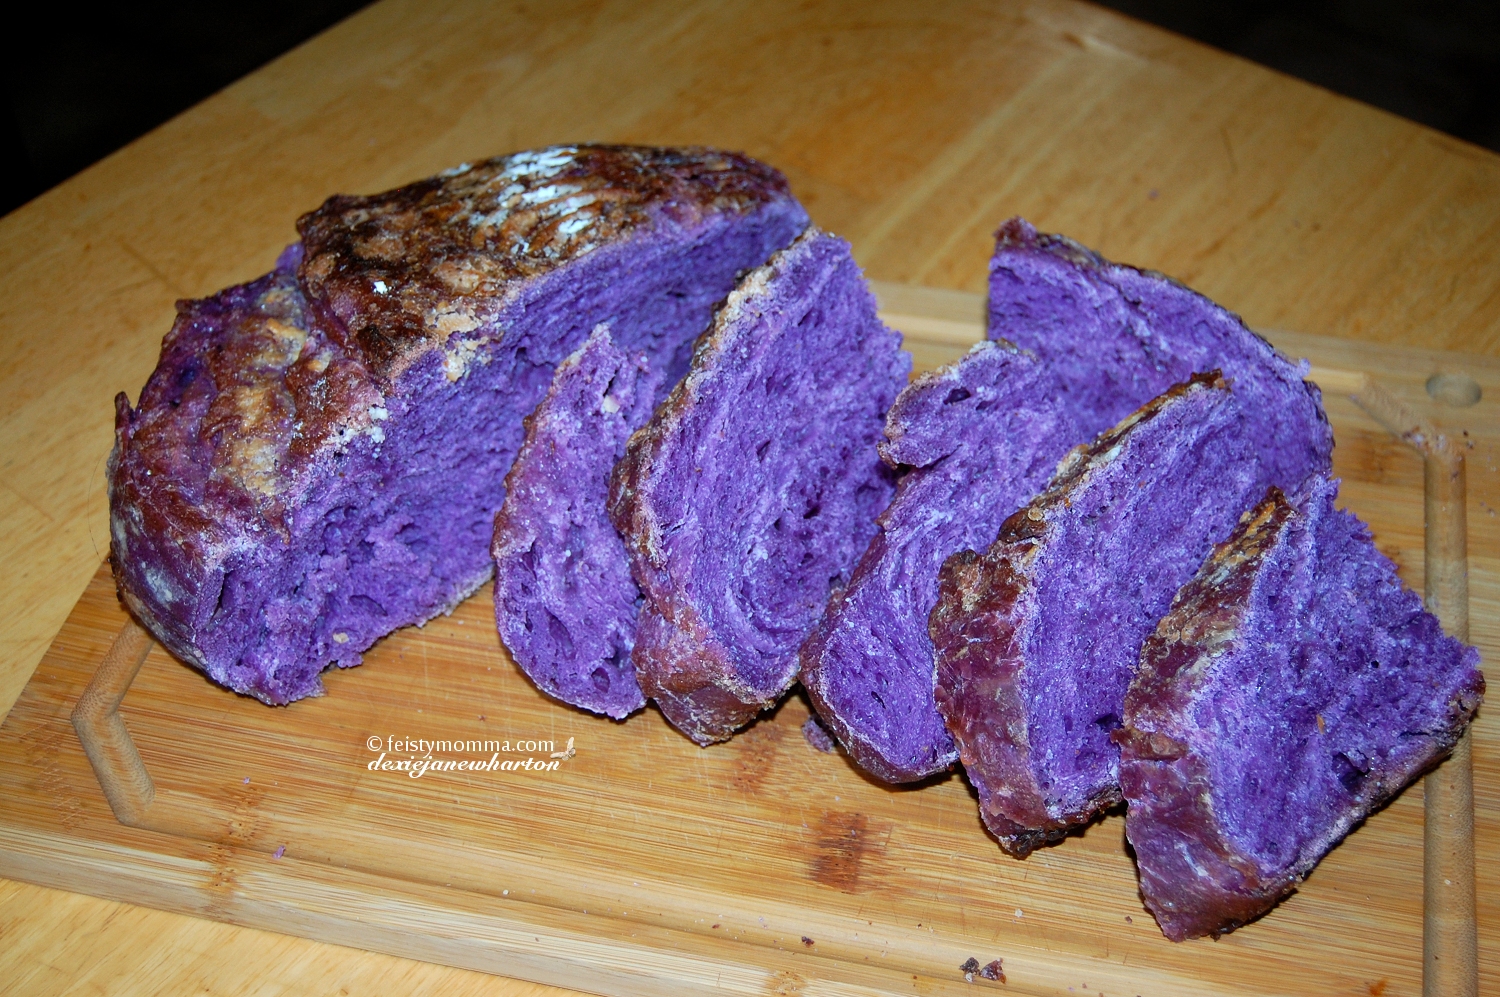
Slice them up, eat as is or toast then spread butter on top. Sourdough Bread is really good when toasted even though you need to chill it compleltely before slicing and serving. If there’s any confusion please refer to the video because that’s where the whole process is. Thank you.

